- Condensed view of the organizational chart
- Right-hand menu
- Explorer view
- Export improvements
- Teams on the org chart
- Groups above the org chart
- Custom properties single-select
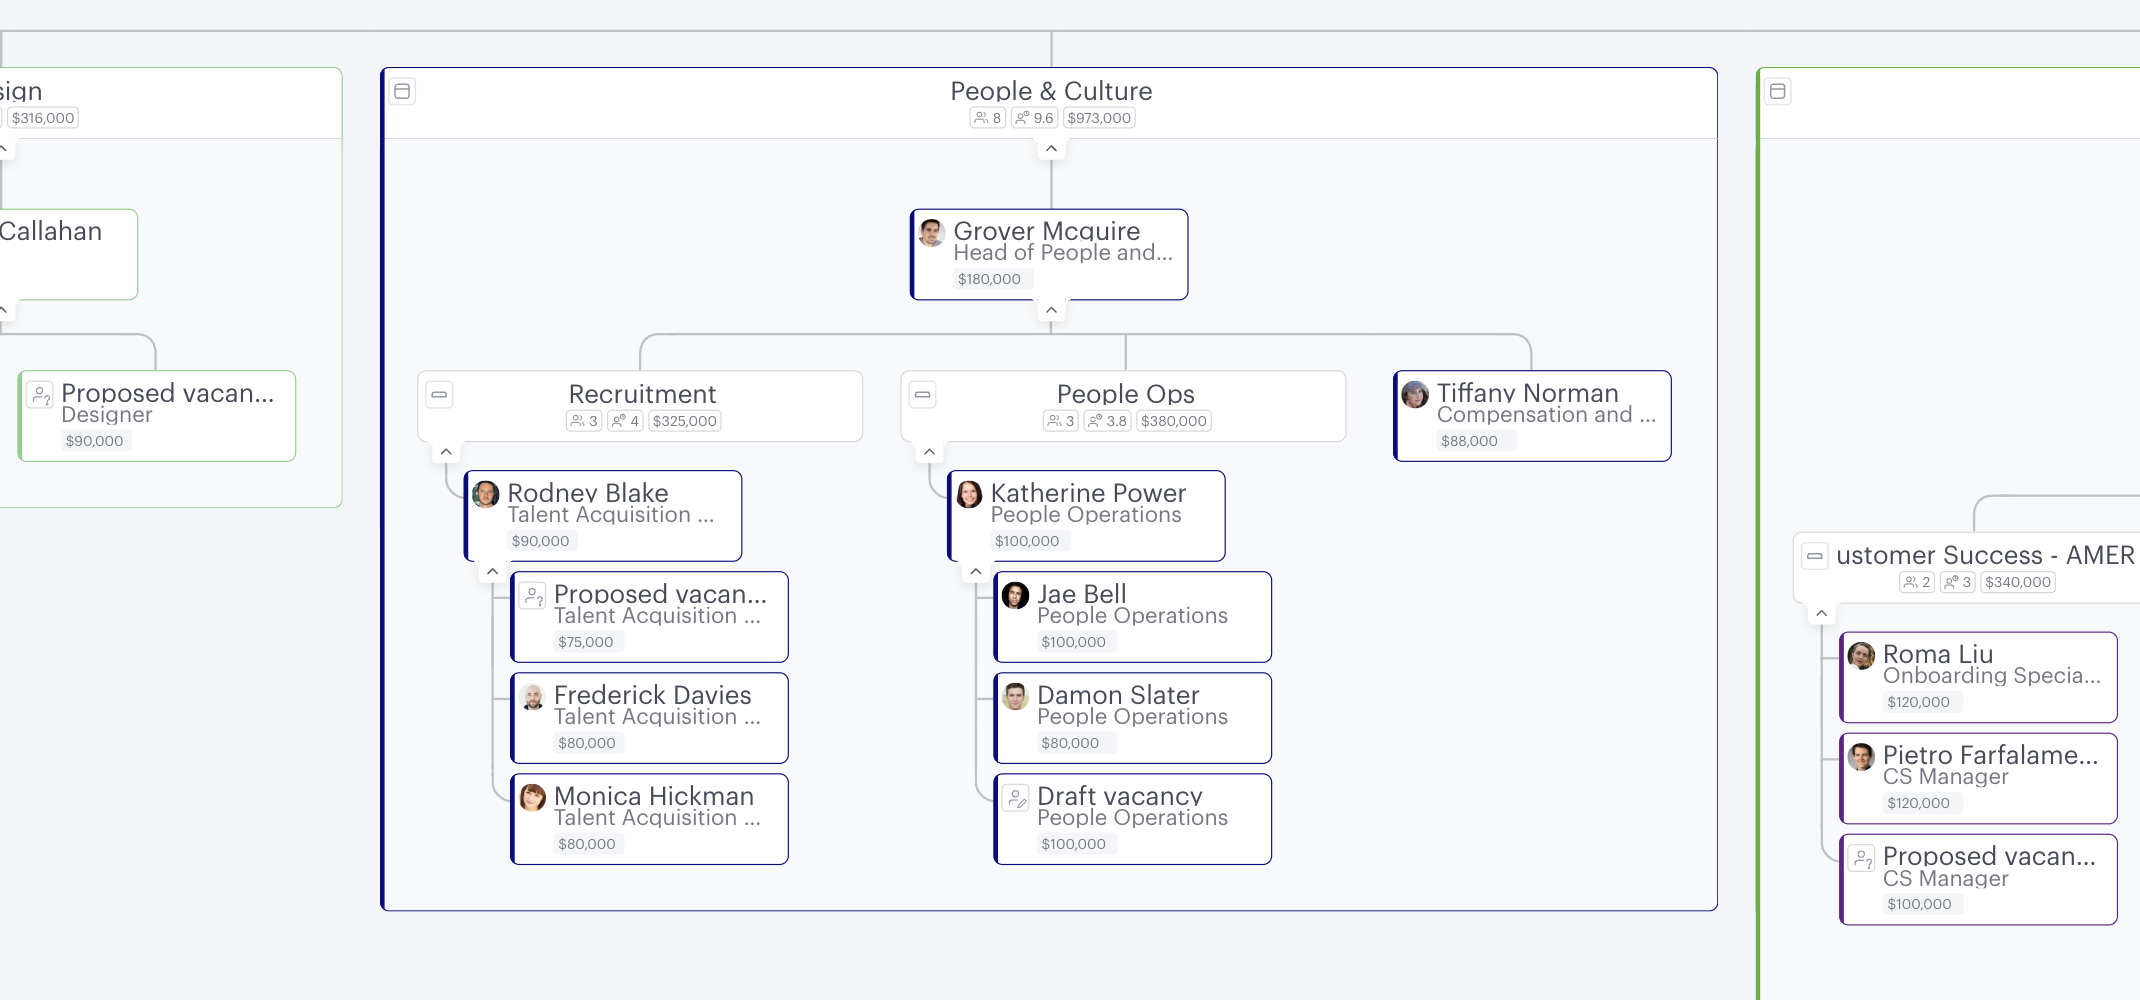
1. Condensed view of the organizational chart
The condensed view of the org chart is designed to make it easier to see more of your organization at once. We have created different lenses based on the org design work you're doing at a particular time, "Accountabilities," "Roles," and "Positions" will display data relevant to the different aspects of the process. Additional data can also be visualized, including your own custom properties.
To access the condensed view of the org chart, click the settings menu near the top left and toggle "Condensed" on.
2. Right-hand menu
The new right-hand menu allows you to quickly access and edit a wealth of data on objects in your scenario, including people, positions, groups, functions, roles, and role templates.
3. Explorer view
Explorer view provides an interactive map to help you navigate your org chart and more easily understand your org's structure. Think of it as being like a folder structure on your computer, showing everyone in your organization and their position titles. It allows you to navigate directly to positions on the org chart and gain access to data related to the position.
To access Explorer view, click the square near the top left to open the left-hand menu, where it's broken into two sections, "not in this chart" and "in this chart."
If you click on anyone in the list once, their position will load in the right-hand menu, double-click, and the org chart will center on that person (their layer of the org chart must be open). You can set it to appear as the hierarchy of your org chart does or alphabetically, and you can search for anyone's name or position title using the search bar near the top of the menu.
4. Export improvements
Our product team has put a lot of effort into simplifying the export options as well as adding some more. For PDF exports, you can now select to display or hide the Functionly header and footer. PNGs can be exported with a solid or transparent background, should you wish to add it to a presentation, setting the color yourself.
To access the export modal, where the options can be viewed, click the "Export" icon near the top right and select "Export charts." Or click the dropdown menu to the right of the scenario name, hover over "Export," and select "Export charts."
5. Teams on the org chart
In an effort to bring more of our old Team Chart into the Org Chart, we have released "Teams" as a group style for the Org chart. Groups can contain multiple positions and have accountabilities assigned to them. At this stage, they can only be added as the lowest item in a branch of the org chart when using the condensed view.
To add a team, click the ellipsis (three dots) next to or below any position and select "New team". To change an existing group to a team, click the ellipsis on the right-hand side of the label or boundary, hover over "Style," and select "Team."
6. Groups above the org chart
We often hear from people who want to add two people to the top of their org chart, and to make this possible, you can now add a group above the org chart, allowing another position to be added next to the top one.
To add a group as the top item, hover above the top position, click the ellipsis (three dots) next to "Import/update," and select "New group label" or "New group boundary." Then add a second top position by hovering to the left or right of the existing top position, clicking the ellipsis and selecting "New position", or dragging and dropping another position into place.
7. Custom properties single-select
As an addition to custom properties, you can now choose to make them "single-select," which will allow you to quickly select a value to populate the field rather than typing the same values in multiple times.
Whenever you create a new custom property, you will have the option to make it single-select. To change an existing custom property, click the settings menu near the top left, hover over "properties," click on the property, hover over "type," and choose "Single-select." Then, click on any position, select your custom property's field, and start typing in a value. The next time you go to add a value to another position, the one you have just added will be available to select.