
There are two ways a user can be added to your workspace; by inviting them from your homepage, or sharing directly from one of your scenarios when it's loaded. Below we'll explain the difference between the two different methods, but it's important to first understand the relationship between a workspace and a scenario.
When you sign up to Functionly, whether you're invited or creating your own account from scratch, you will be granted access to a "workspace" that you might consider to be like a bank vault, and inside your workspace, you can create "scenarios" that are a bit like safety deposit boxes within a vault. So, while someone may have access to the vault, they don't automatically get access to the safety deposit boxes, in fact, they can't even see them.
Contents:
Inviting users to your workspace
Inviting a user into your workspace allows them to create their own scenarios within the workspace, but they won't be able to access, or even see, any other scenarios until they're specifically shared with them.
Equally, you won't see any scenarios they create until they have shared them with you.
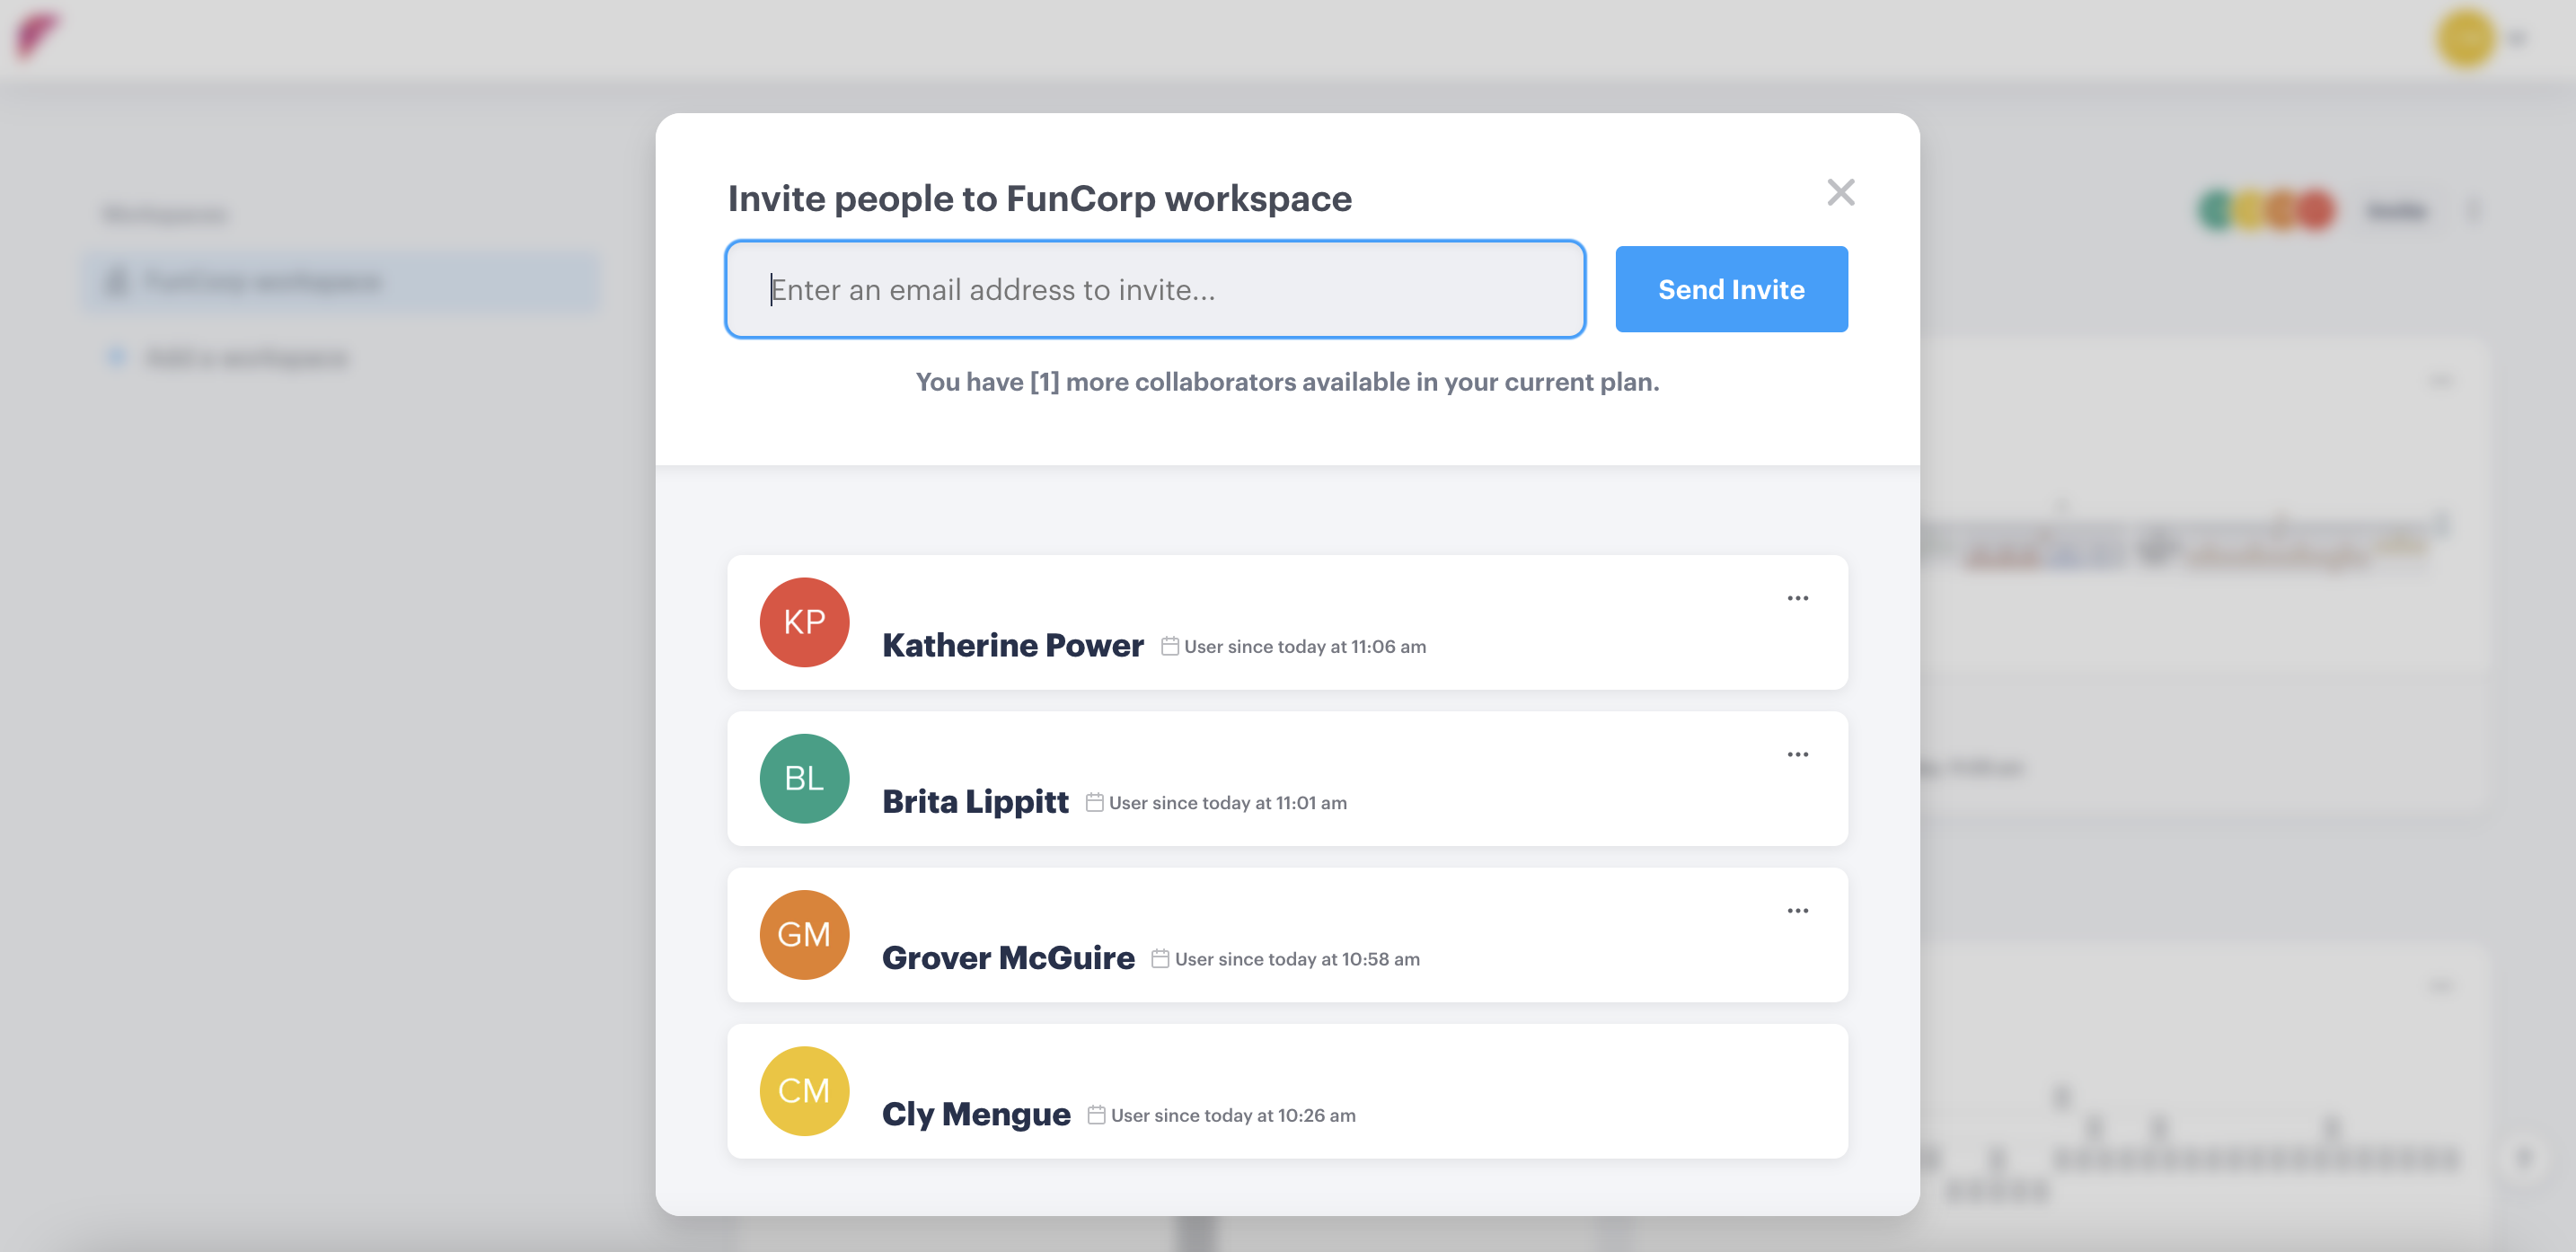
Steps to invite a new user to your workspace:
-
On your homepage, click the "Invite" button near the top right of the page
- Input email address
- Click "Send invite"
OR
- Click the dropdown in the top right of the browser next to your avatar
- Select "user administration"
- Input email address
- Click "send invite"

If a user already has a Functionly account they will then have the option to join your workspace and bring their scenarios.
Sharing a scenario with another user
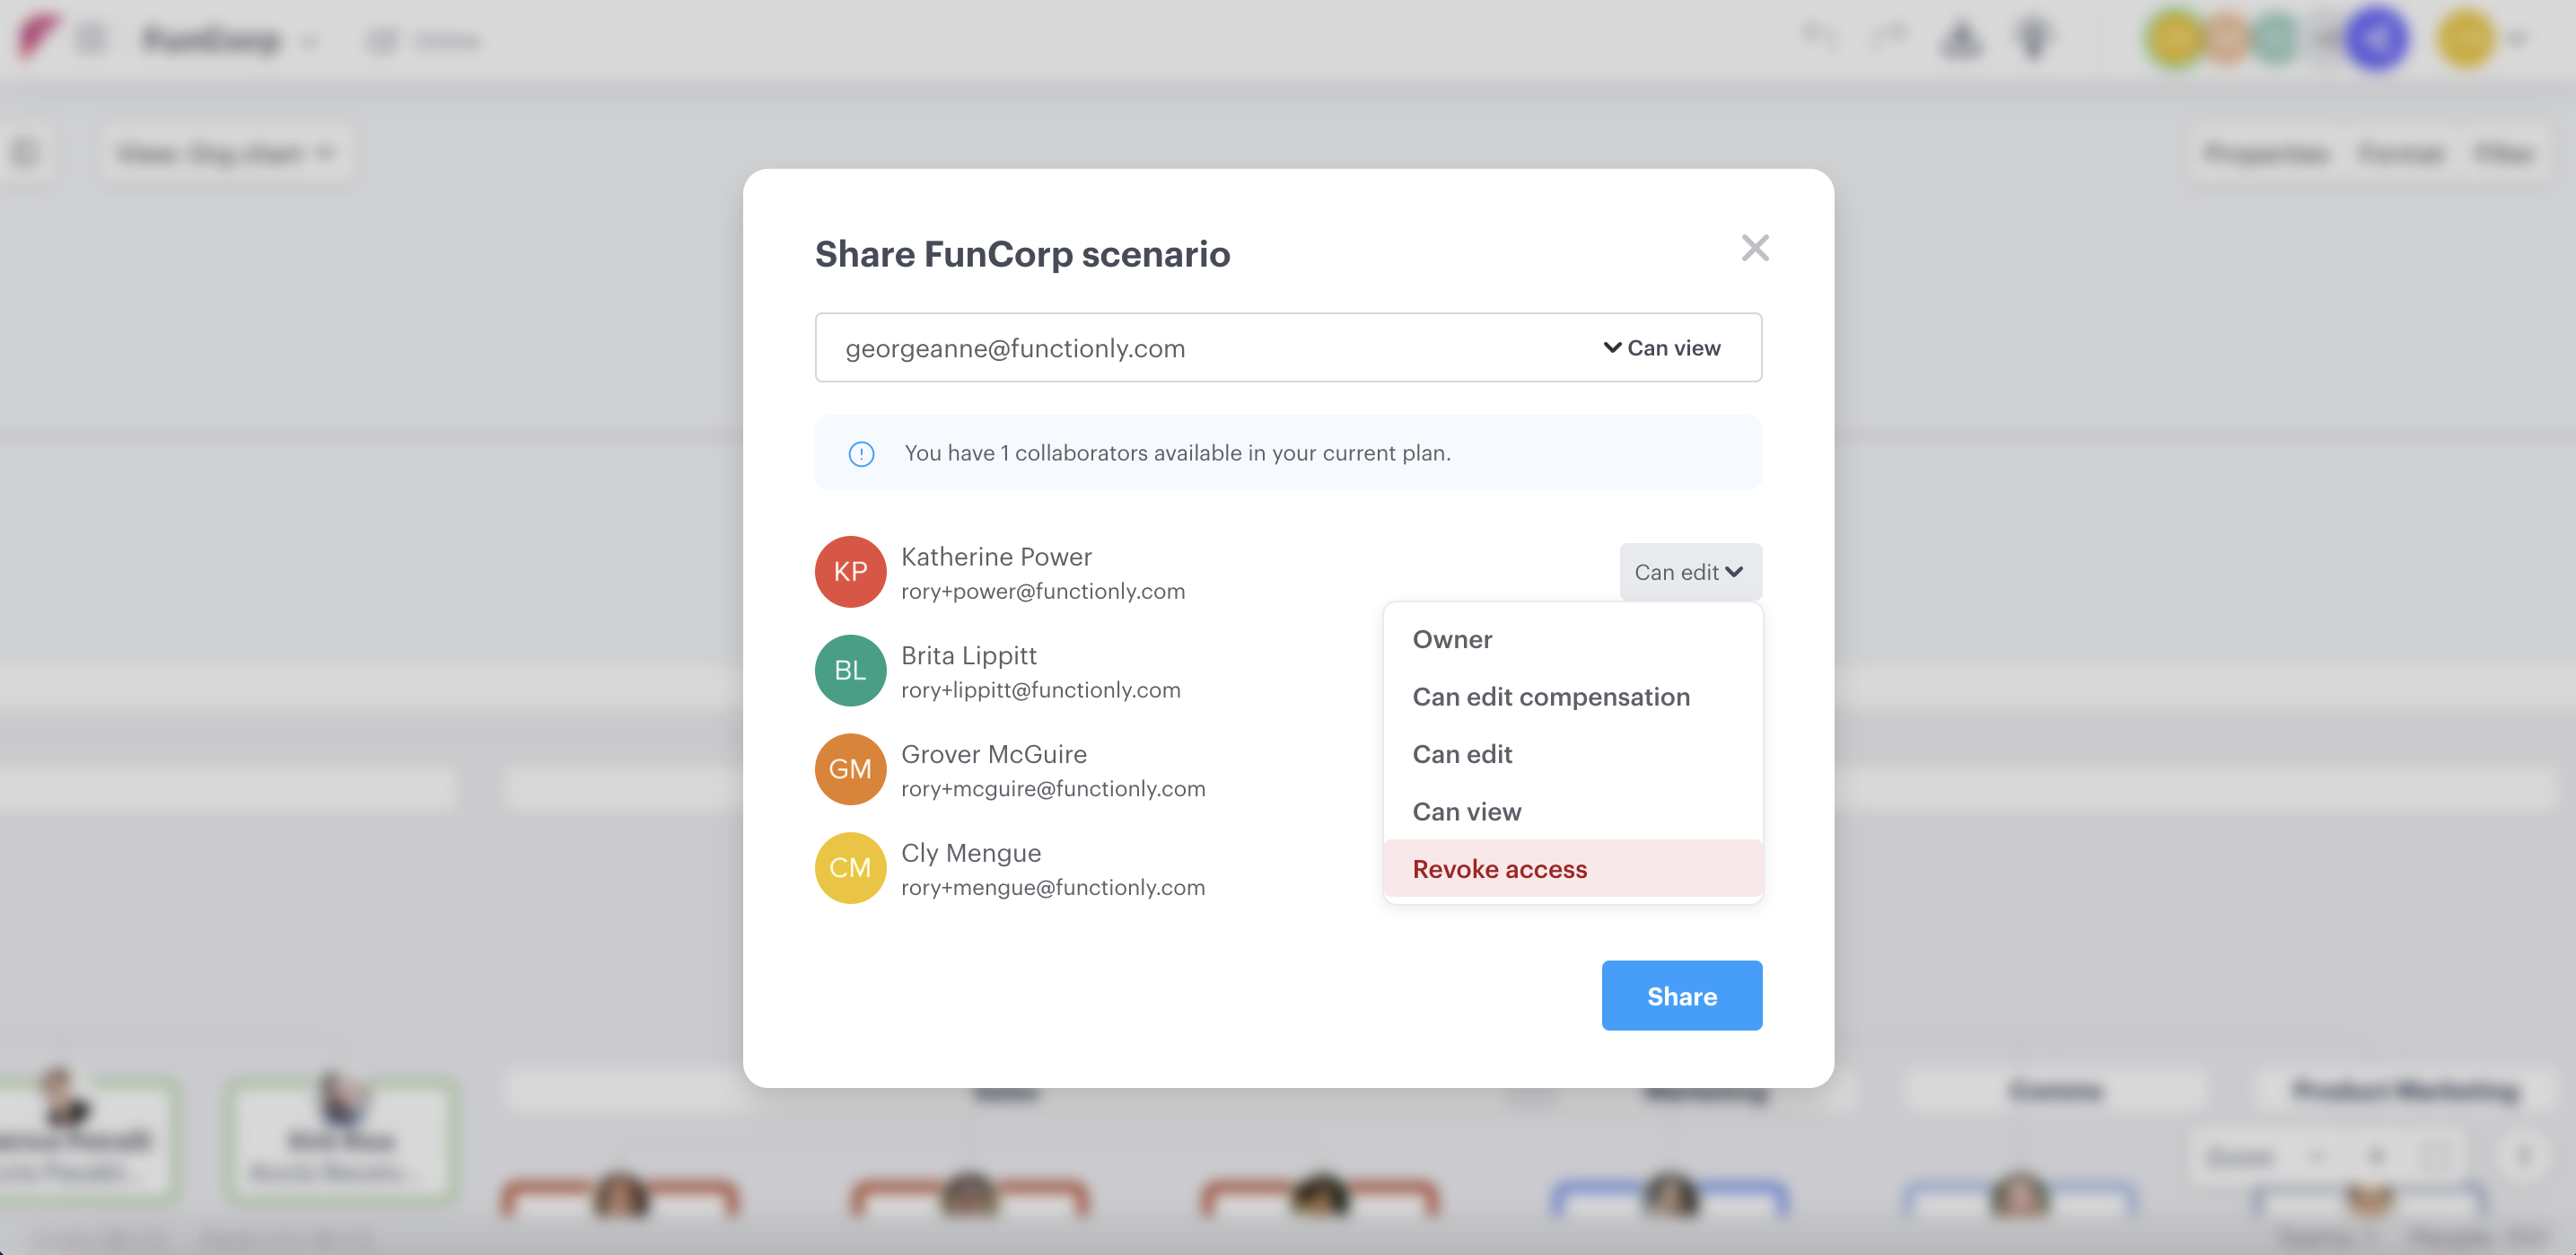
Sharing a scenario with someone gives them access to that scenario, but how much control and visibility they have depends on the type of access you grant them.
In this section:
Scenario access levels
Before sharing a scenario, it's important to understand what the different access levels mean.
Owner
Scenario owner is granted to anyone who creates a scenario by default and has the highest level of access and control in any scenario. They can edit and view compensation, make changes to the structure and data, share with other users, and create links for scenarios.
Sensitive data editor
Sharing with someone as a sensitive data editor is the second highest level of access you can grant someone to a scenario. They can make the same changes to a scenario as an owner, including adding or editing compensation data, setting and viewing custom properties as sensitive, and exporting. They can copy the scenario and all its data, including compensation and sensitive custom properties, to create a scenario in which they are the owner.
Sensitive data editors can not share the scenario with other users or create links for it.
Basic editor
Editors can make structural changes to an org chart, import, export, and edit data but do not have access to view or edit compensation data for a scenario, create links, or share the scenario with other users. Editors can copy a scenario, including non-compensation data, and share the new version.
View only
When you share a scenario with a user giving them view access, they can view all the non-control elements of your scenario with the exception of compensation data, they can make copies of the scenario where they will be the scenario owner, and can share the new version but they do not copy the compensation data.
Steps for sharing specific scenarios
From the homepage:
- Click the ellipsis on the top right of the scenario panel
- Select "share" on the menu that appears
- Input the email address
- Select the level of access you want them to have
- Click "share"
From a scenario:
- Open the scenario you would like to collaborate on
- Click "Share" in the top right
- Select "Share scenario" from the dropdown
- Input email address
- Select the level of access you want them to have
- Click "share"
Sharing a scenario with a user who is not currently a member of your workspace will add them to that workspace by default.
Removing a user
Revoke access to a scenario
If you revoke access to a scenario, a user won't be able to view, edit or copy any longer. They will still have access to any copies they've already made and will also be able to create their own scenarios within your workspace.
Steps to revoke scenario access from the homepage:
- Click the ellipsis on the scenario panel you would like to revoke access to
- Select "share" from the menu
- Click the dropdown next to the user on the modal
- Select "revoke access"
Steps to revoke a user's access from a scenario:
- Open the scenario you would like to revoke access to
- Click the "share" icon in the top right
- Click the dropdown next to the user on the modal
- Select "revoke access"
When you revoke someone's access to a scenario, they will not receive any notification.
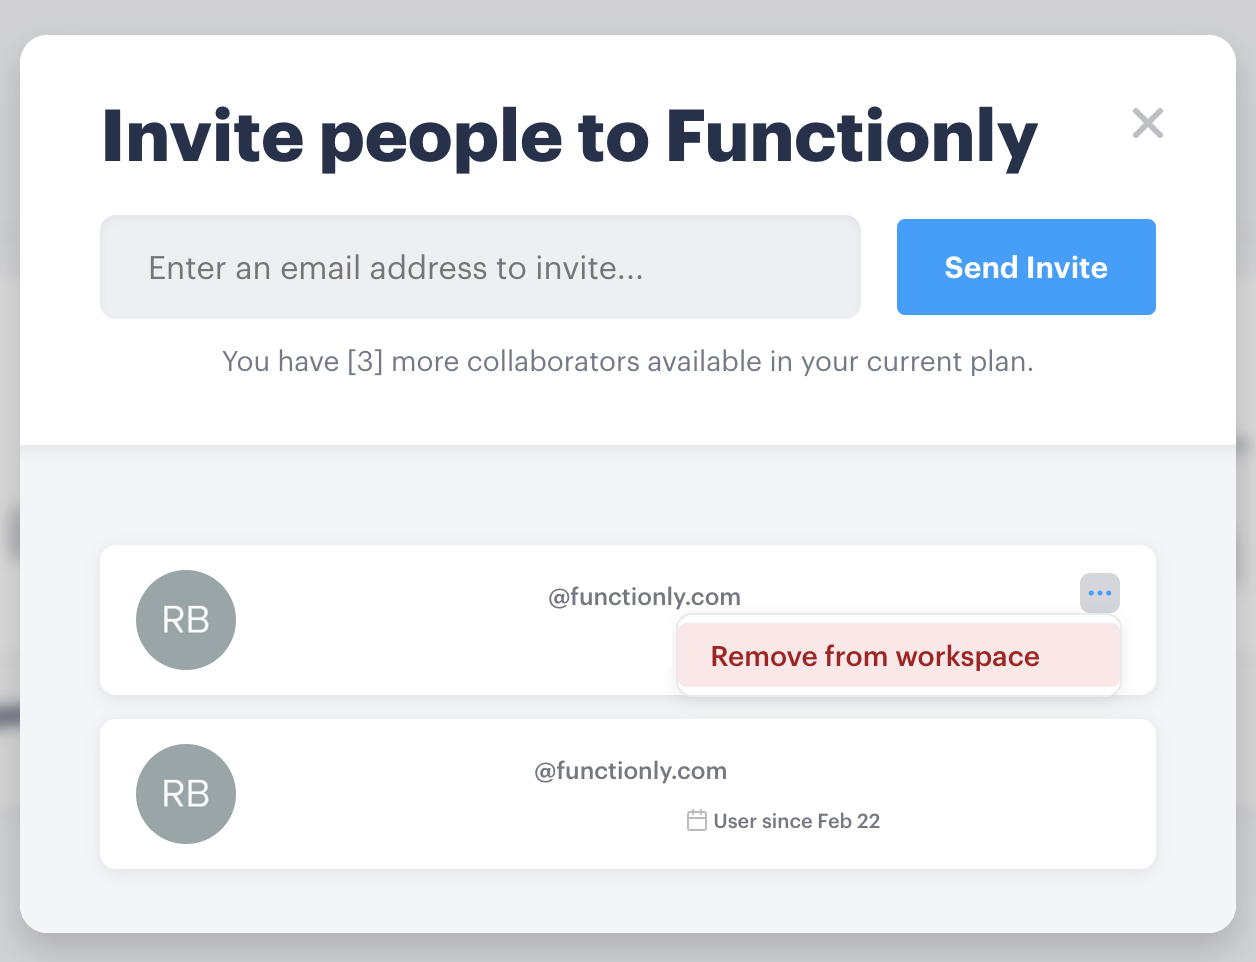
Remove a user from your workspace
If you remove a user from your workspace then they will no longer be able to create scenarios within your workspace, will lose access to any scenarios they previously had access to (including their own), and will lose access to any copies they made.
Steps to remove from workspace:
- On the homepage, click invite in the top right
- On the invite, modal click the three dots next to their email address
- Select "Remove from workspace"
Have questions about inviting and sharing?
Get in contact with our Support team via the contact us page or email support@functionly.com.