

Contents:
1. Org chart canvas settings
If your scenario doesn't contain many positions then you may not need to make any changes to the layout but the more positions you have the more important it is to get the layout and presentation right, to make it easier for you, and others, to view.
When you click click on the "+" plus symbol above any position you may notice that you can also add a group as a boundary or label.
Learn how to use groups in your org chart to help identify pods, departments geographies...
In this section:
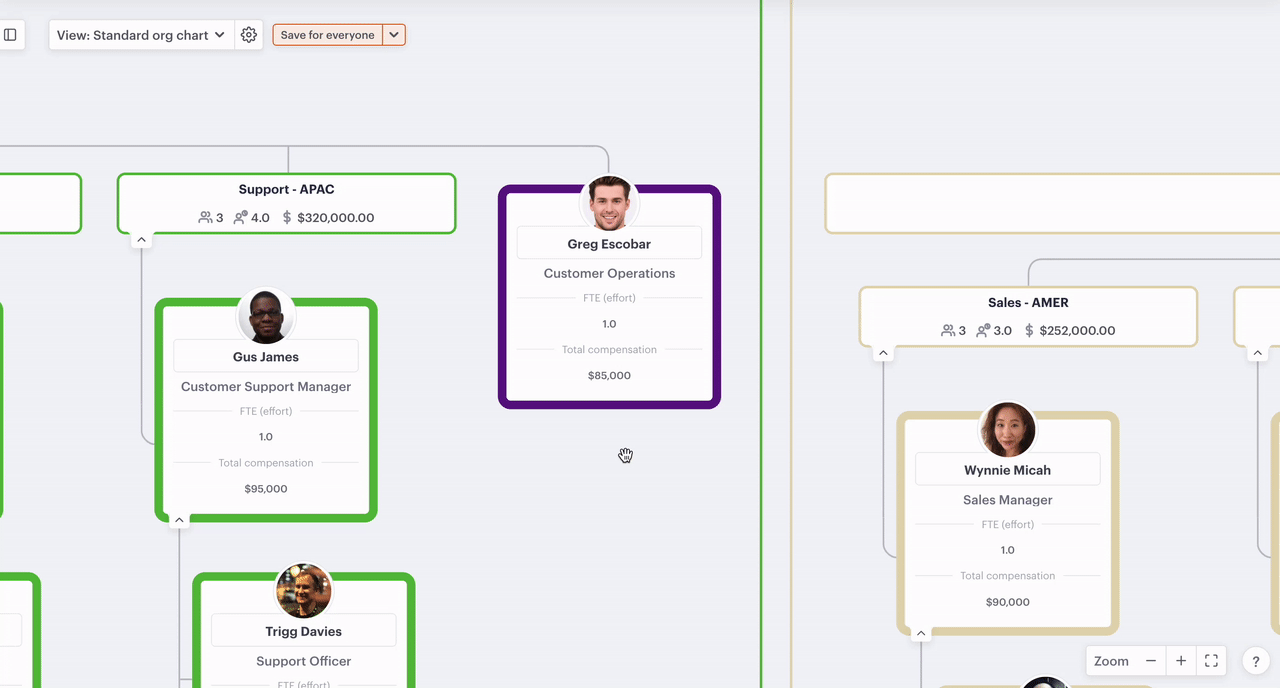
1.a. Collapse positions
If you want to just show certain positions on your org chart, you can collapse all above and below.
Steps:
- Hover just above or below any position
- Click the downward-pointing arrow

If you don't want to manually collapse positions you can search for a position to set as your "top item" using the "View settings" menu near the top left.
Once you have the view you appearing as you'd like you can export it in your chosen format.
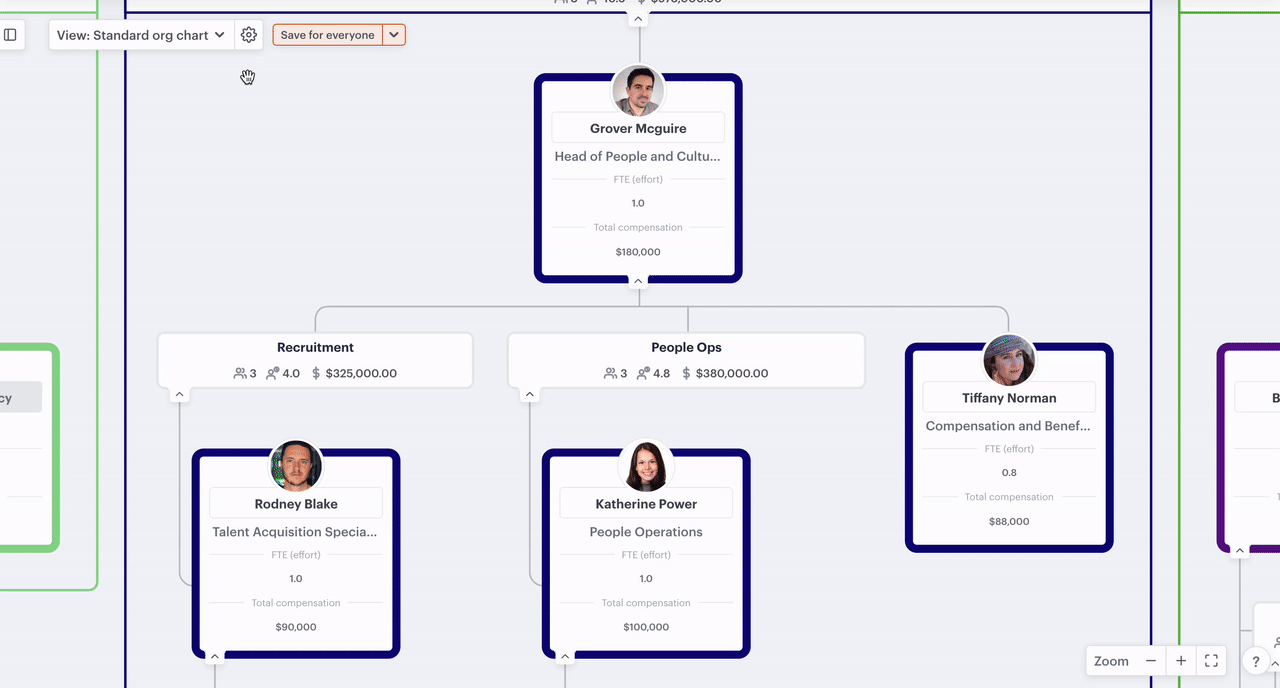
1.b. Layout
"Layout" allows you to change the appearance of individual branches of your org chart to "wide" (horizontal), "vertical stacked", "vertical condensed".
Steps:
- Hover below any manager
- Click the rotate button

1.c. Color positions
Coloring a position may be communicating something to others viewing your chart or maybe it's just to make your org chart look pretty. Either way, there are different ways to color positions.
Learn more about how to use color in your scenario, including how to view headcount and compensation segmented by color.

2. Org chart bulk "View settings"

In this section:
2.a. Chart type
Chart type can also be seen on the tab to the left of "View settings" and changes the data that shows on each position based on the purpose.
"Positions" view optimizes the org chart to show what's necessary for working on your organization's structure.
"Accountabilities" shows each position as well as the executive level accountabilities held by a particular position.
"Roles" shows the different hats people wear within the organization and it's using roles that you can also create dotted-line relationships between positions.

Learn more about how to create dotted-line relationships between positions.
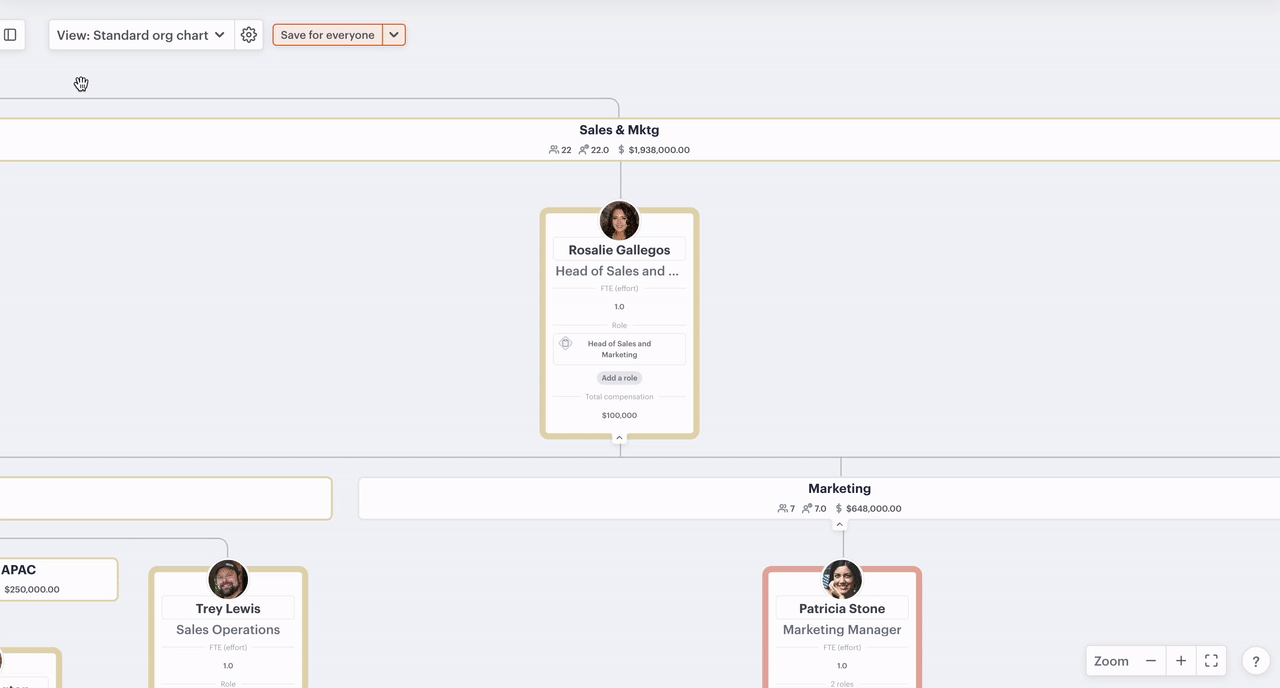
2.b. Properties
"Properties" allows you to toggle different properties on and off to appear on your org chart, depending on what the job is that you're trying to do at a given time.
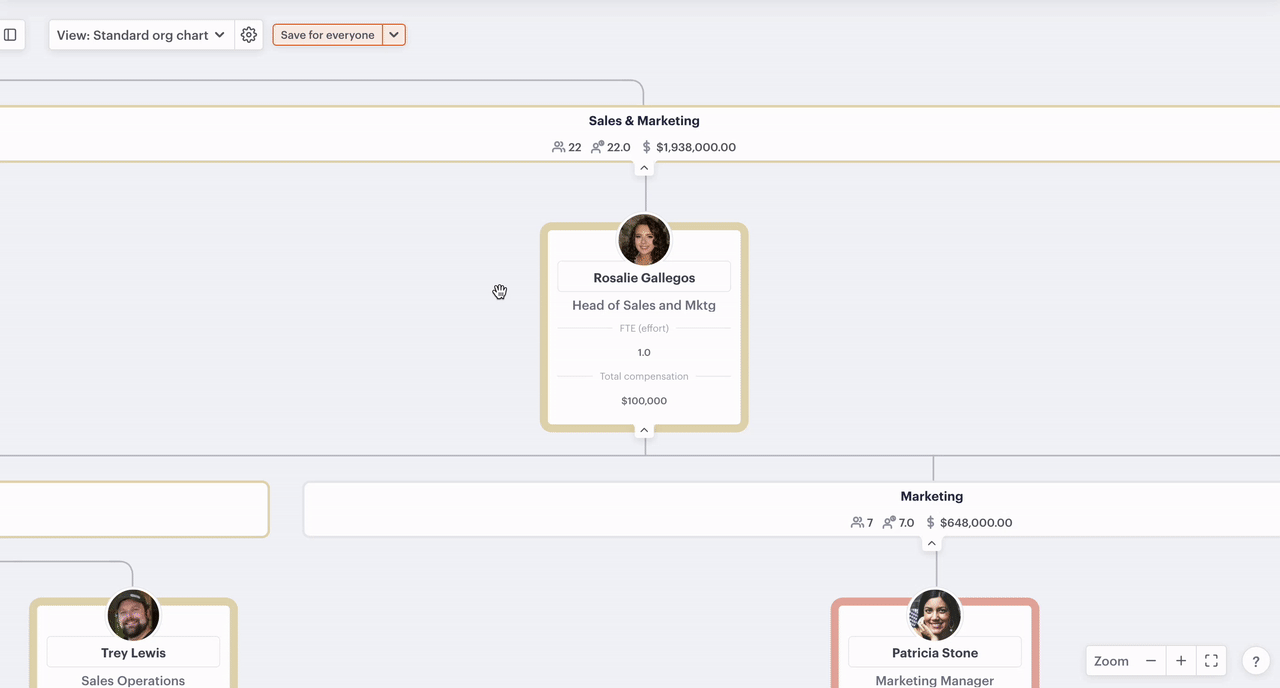
2.c. Top item
Select "Top item" to filter your org chart from a certain point, for example, if you want to just look at your sales and marketing team, you can search for the "Head of Sales & Marketing" or "Chief Revenue Officer," depending on their title in your organization.
2.d. Layers below top item
Exactly as it sounds, this is a bulk action that allows you to collapse and expand layers to the desired level of display.
2.e. Layout
As with layers below top item, this is a bulk version of the rotate button, that lets you change the orientation of every branch in your org chart.
2.f. Saved views
You can edit, duplicate, hide, and save new views using the "view settings menu"
Learn how to use saved views
3. Org chart chart type menu
In addition to being able to select the different views of your scenario like "people & positions" or "forecast", you can now access pre-generated template views for your org chart or your own saved views using the "view"menu.

4. Left-hand menu
While the left-hand menu is present on both the people & positions and org chart view it carries additional controls on the org chart.
In this section:
4.a. Views
The "Views" section of the left-hand menu shows the different standard and saved views in your scenario. By default, you will see Org chart, People & positions, Functional chart, Forecast sheet and Change plan. Whenever you save a view for your org chart, it will also appear in the left hand menu.

4.b. Not in org chart
People not in the chart have been added into the product but don't yet appear in the org structure. You can easily add them to the org structure by dragging and dropping them from the left onto the org chart or by adding a position then searching for their name on that new position.
Using the ellipsis to the right of their name you can edit the person which will allow you to update their name, email, and avatar, and you can also delete the person entirely.

If you delete a person accidentally you can restore them by using the undo button (back arrow) near the top right. 🙂
4.c. In org chart
Hovering over any person who is "in this chart" will make their position expand slightly to highlight them on your chart but if your chart is a larger one then clicking on the person will zoom in and take you directly to their position.
If you click on the ellipsis to the right of their name you can; edit the person including their name, email, avatar, position title, delete the person, view information on their position, remove or delete the position entirely.
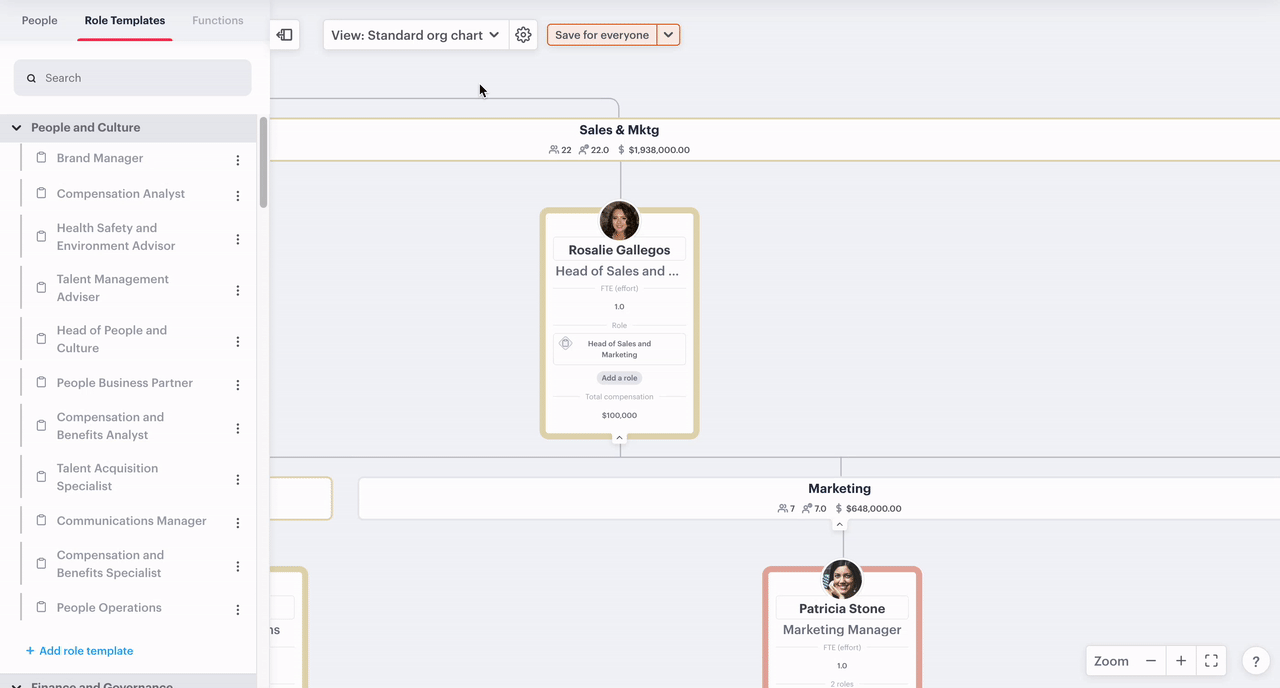
4.d. Roles templates
If a functional library has been selected when you click on the "roles" tab then a list of roles associated with that library type will appear. By clicking on any role you can view and edit its associated responsibilities, view list of people it has been assigned to and assign it to additional people.
4.e. Functions & Accountabilities
Functions are units of work that an organization needs to complete in order to run effectively, and they can be assigned as responsibilities using roles. If you're doing in-depth strategic planning then mapping functions will give you a clearer picture of where work should be allocated to help your organization run more effectively.
5. Right-hand menu
The right-hand menu provides fast access to data related to a variety of objects from your org chart.
Right-hand menu options:
Person menu
The person menu loads information such as name, email address, position, and manager, if applicable.
Access the person menu:
- On the standard view of the org chart, click the person's name or avatar on any position
Position menu
The position menu allows you to access and edit any field that is associated with the position such as compensation, start date, and accountabilities, as well as the person it's assigned to and who it reports to. It also visualizes information about that position's subsidiary positions like the span of control, direct and indirect reports, and the number of layers below.
Access the position menu:
- Click the white space on any position
Role menu
The role menu shows data associated with each role: Responsibilities, whether it's from a template, other positions with the same role, and a description if one has been added.
Access role menu:
- Ensure "roles" are toggled "on" in the properties menu
- Click the role on any position in the org chart
Role template menu
The role template menu shows any responsibilities and activities associated with a particular role template, any positions it has been applied to, which job family (category) it's in, and a description, if one has been added.
Access role template menu:
- Select the "role template" tab in the left-hand menu
- Click any role template in the list
Function menu
The function menu displays an objective, shows who's accountable and allows you to edit the activities associated with that function.
Access the function menu:
- Ensure "accountabilities" are toggled "on" in the properties menu
- Select the "Functions" tab in the left-hand menu
- Open a superfunction folder or search for the name of a function
- Click the function
If you have feedback about the features or data available on the org chart view we'd love to hear from you.
Email support@functionly.com or use our contact us page to share your thoughts.